Vytvorte retro efekt vo Photoshope - takto:
V tomto krátkom návode vám ukážeme, ako pomocou aplikácie Photoshop vytvoriť retro efekt pre vaše fotografie.
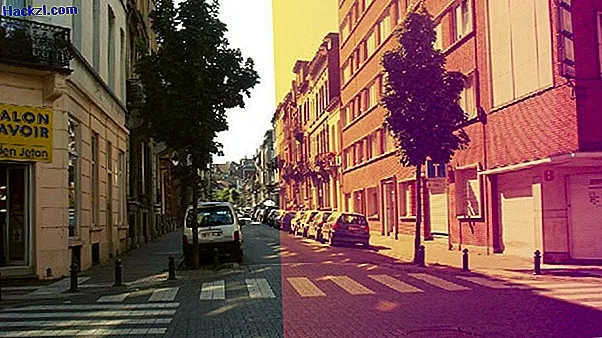
Takto získajú fotografie retro vzhľad s aplikáciou Photoshop
V obrázkovej galérii sme pre vás zhrnuli jednotlivé kroky a nastavenia. Použité hodnoty sú iba informatívne. Presné vlastnosti závisia od pôvodného obrázka. Skúste trochu, kým nenájdete optimálny výsledok.
- Otvorte obrázok vo Photoshope a najprv vytvorte kópiu vrstvy pozadia.
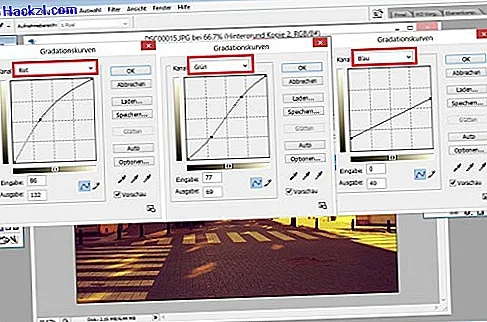
- Odlievanie farieb je typické pre retro vzhľad. Vytvoríte to pomocou kriviek gradácie. Dialógové okno pre tieto nastavenia nájdete v časti „Obrázok -> Upraviť -> Gradačné krivky“. Tu nastavíte krivky kanálov osobitne červenú, zelenú a modrú. V galérii obrázkov môžete vidieť, ako by mali vyzerať krivky kanálov.
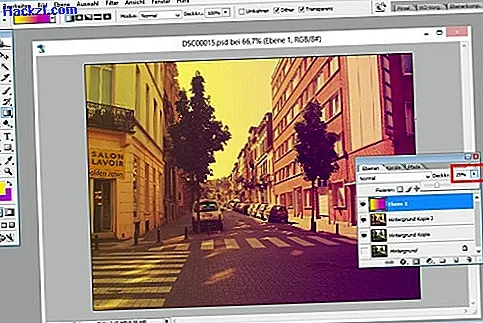
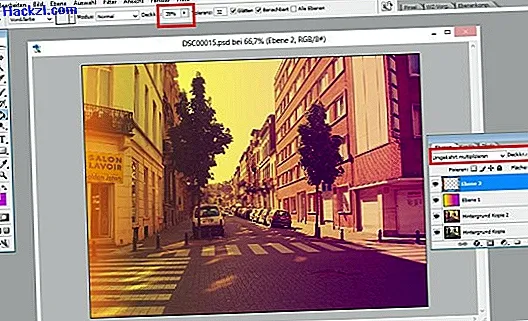
- Potom vytvorte novú vrstvu pre prechod. V našom príklade sme ako farbu popredia vybrali svetlo žltú, ako farbu pozadia tmavo fialovú. Teraz pomocou nástroja prechodu pretiahnite prechod zľava doprava. Znížte krytie vrstvy na 25%, aby sa dokončil farebný odtieň.
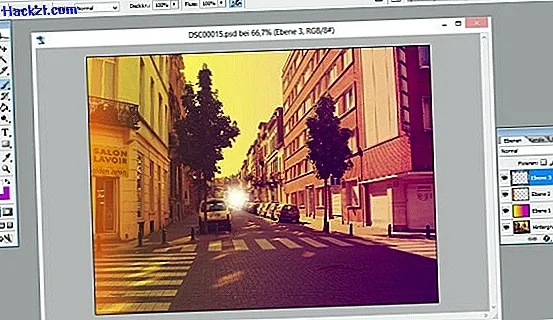
- Staré fotoaparáty často zanechali nepríjemný svetelný efekt. Vyberte farbu popredia jasne červenú a nástroj prechodu z „farby popredia“ na „priehľadné“. Teraz ťahajte prechod z ľavej strany na novú vrstvu, ale iba asi tri centimetre. Nastavte režim vrstvy na „Spätné násobenie“ a krytie na 60%.
- Typickú preexpozíciu vytvoríte vytvorením novej vrstvy a pomaľovaním bodu v strede pomocou bielej farby popredia a nástroja mäkkej kefy. Režim pre túto vrstvu by mal byť „Soft Light“.
- Staré nahrávky nie sú také ostré ako dnešné fotoaparáty. Zvyčajne sú trochu zrnité. Potrebujete tiež novú vrstvu, ktorú tentokrát vyplníte čiernou farbou. Prostredníctvom "Filter -> Štruktúrovací filter" sa dostanete na "Zrno". Nastavenia nájdete na snímke obrazovky galérie obrázkov.
- Veľkosť zŕn sa stáva jemnejšou s filtrom „Filter -> Filter s mäkkým zaostrením -> Gaussovo mäkké zaostrenie“. Ako polomer sme vybrali pixel.
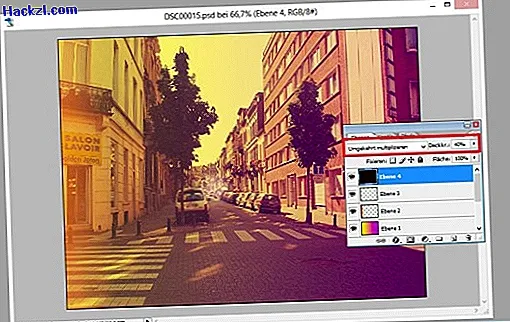
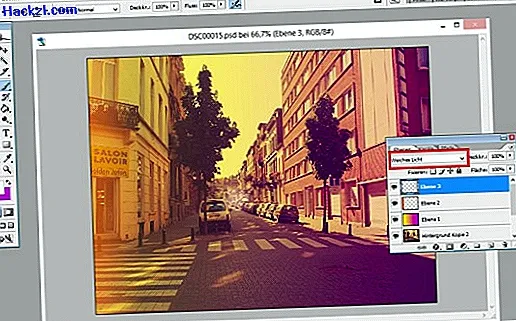
- Ak teraz znížite krytie tejto vrstvy na 40% a nastavíte režim na „Spätné znásobenie“, vaša fotografia sa objaví v retro vzhľade.
Nechceli by ste radšej orezať fotografiu na starú, ale skôr ju vylepšiť? V ďalšom praktickom tipe vám ukážeme, ako opraviť farebné obsadenie pomocou aplikácie Photoshop Elements.
Najnovšie videá
Farebný odliatok vytvoríte pomocou gradačných kriviek jednotlivých kanálov.
Farebný prechod od zosilňuje retro efekt.
Otravný svetelný efekt získate s malým farebným gradientom zo strany.
Prechod je typický pre staré nahrávky.
Zmena nastavenia úrovne sa zdá byť realistická.
Pri spätnom účinku nesmie chýbať zrno.

Zrno sa ďalej spracováva s mäkkým ohniskom.

Pri nastavení správnej vrstvy je retro efekt dokonalý.